EN
EN



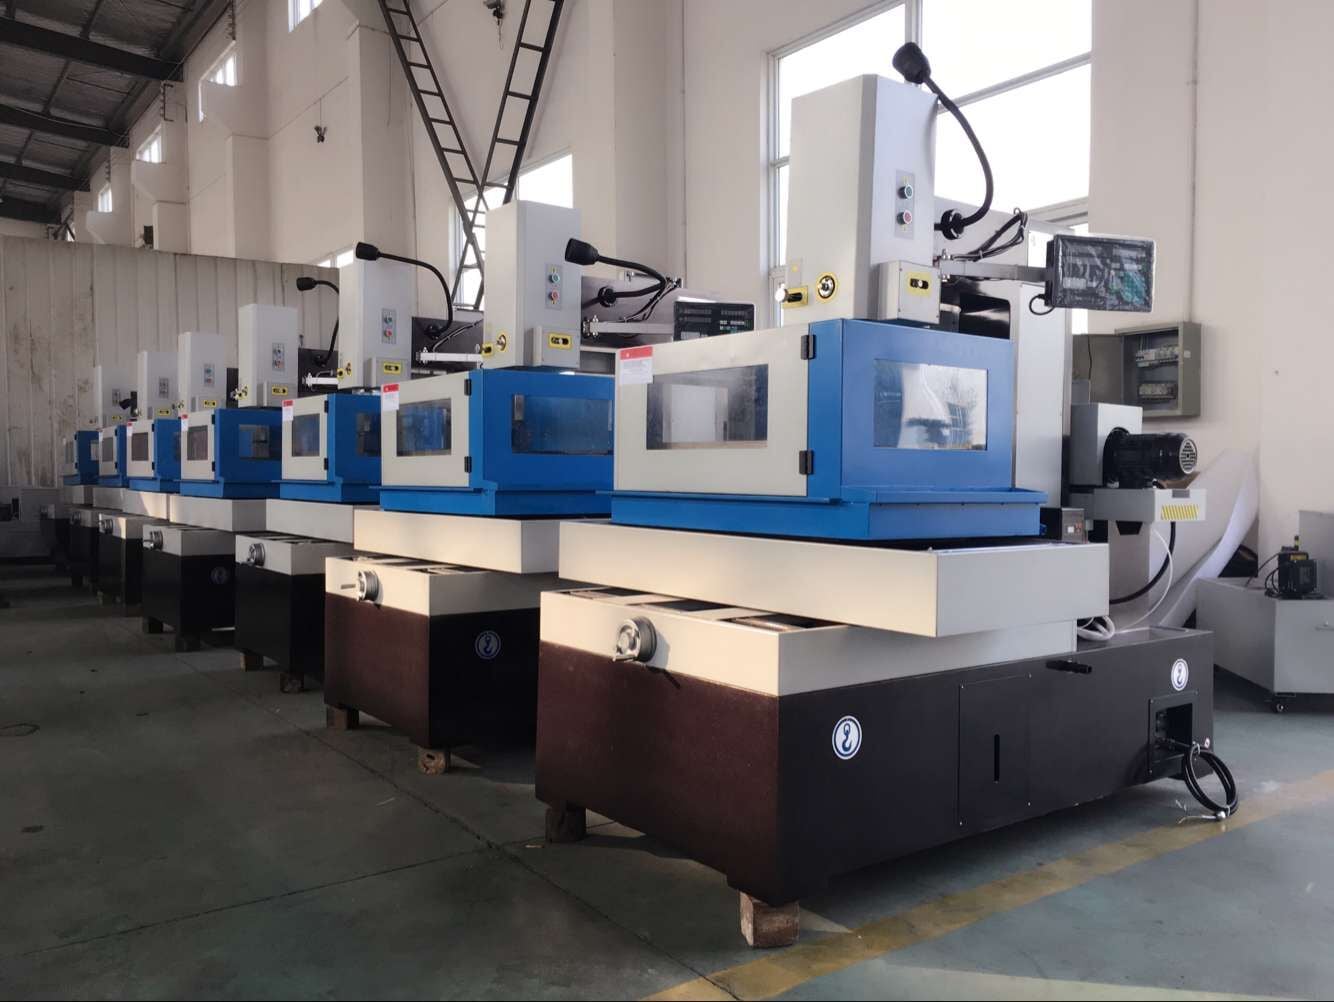
Consistent EDM performance comes from controlling the same inputs every time: the machine condition, working fluid, consumables, setup, electrical program, environment and inspection method. When cutting time, surface finish or dimensions begin to drift, change one verified variable at a time and record the result. Do not begin by copying a maintenance interval or parameter from another machine.
The first step is to identify the process. Wire EDM, die-sinking EDM and EDM drilling all remove conductive material by controlled electrical discharge, but they use different electrodes, fluid systems and wear components. A useful maintenance plan therefore has common controls plus a separate checklist for each machine type.
What Does Consistent EDM Performance Mean?
Consistency means that a qualified process produces repeatable acceptable results when the same material, geometry, setup, consumables, fluid condition, program and measurement method are used. It does not mean that every workpiece or EDM process should use the same settings. A change in material grade, thickness, electrode, flushing, cut strategy or required finish can require a new qualified condition.
Separate the machine's positioning or repeatability specification from the finished-part result. Final dimensions, taper, cavity depth, hole geometry and roughness also depend on the discharge process, consumable condition, thermal stability, fixture, compensation and inspection. A catalogue value alone is not a substitute for a representative trial and an agreed acceptance method.
Before Adjusting the Process: Establish a Safe Baseline
- Make the machine safe. Stop the cycle and follow the supplied manual and site isolation procedure before reaching into the work area or servicing a component. High-voltage generator cabinets, electrical connections, safety interlocks and fire-protection equipment require authorised, qualified personnel.
- Preserve the last known-good condition. Back up the program and record offsets, electrical conditions, wire or electrode specification, fluid state, flushing arrangement, fixture and measurement result before changing anything.
- Read alarms and observe the failure. Note where the cycle stopped, whether the problem repeats in the same location, and whether it affects time, dimensions, roughness, wire/electrode wear or only one feature.
- Check simple physical causes first. Inspect contamination, fluid level and circulation, consumable condition, datum, clamping, electrical contact, fixture clearance and visible leaks or damage.
- Change one controlled variable. Multiple simultaneous changes hide the root cause and make the next setup difficult to reproduce.
Do not install an uncontrolled software version or alter protected machine parameters simply because a result has changed. Use only manufacturer-authorised updates and procedures, with a backup and a documented recovery route.
Common Checks for All EDM Processes
| Control Area | What to Check | Why It Matters |
|---|---|---|
| Approved working fluid | Correct fluid for the model; level, visible condition, circulation, leakage and any manual-specified concentration, conductivity or temperature | Fluid condition affects insulation, cooling, debris removal and discharge stability |
| Filtration and debris | Filter condition or machine indication, tank sediment, blocked supply points and return flow | Debris in the gap can create unstable discharge, arcing, slow machining or poor surface condition |
| Workholding and datum | Clean locating faces, stable clamping, correct zero, electrical contact and clearance from the wire, electrode or guide | A repeatable program cannot correct a moving part or a changed reference |
| Environment | Large temperature changes, direct air-conditioning flow, sunlight, grinding dust, corrosion sources and floor vibration | Machine, workpiece and measurement temperature can change a precision result |
| Process revision | Program, offset, technology/condition number, cut or burn stage and operator changes | An undocumented revision can look like a mechanical fault |
| Inspection | Same feature, measurement location, instrument, temperature and acceptance rule as the qualified result | Changing the measurement method can create an apparent process drift |
Wire EDM Maintenance Checklist
HarsMarg's current single-cut and multi-cut Wire EDM families use reusable molybdenum wire stored on a wire drum and moving back and forth through the cutting zone. This differs from a one-way brass-wire machine that continuously discards used wire. Maintenance guidance for automatic threading, brass-wire choppers or deionisation resin must not be transferred to a HarsMarg machine unless that exact equipment is supplied.
- Wire condition: check the approved molybdenum-wire diameter and specification, contamination, kinks, flattening, abnormal wear and sufficient usable length.
- Wire drum and winding: inspect orderly winding, anchoring, travel limits and stable reversal. Do not run with crossed, loose or damaged winding.
- Wire path: inspect the actual guide wheels, guide components, nozzles and contact components fitted to the model for debris, grooves, looseness, damage or abnormal wear.
- Working fluid and flushing: verify approved fluid, level, circulation, filtration and that supply reaches the cutting zone without a blocked or misdirected outlet.
- Validated settings: compare wire speed, tension or tensioning condition, electrical program, offset, first-cut allowance and trimming conditions, where applicable, with the qualified process sheet.
- Geometry checks: if taper, straightness or corner results drift, inspect guide condition, head/fixture clearance, wire path, flushing and the stated cutting strategy before changing multiple electrical values.
Repeated wire breakage is a symptom, not a diagnosis. It can be associated with damaged wire, poor winding, a dirty or worn wire path, unstable fluid delivery, debris, unsuitable electrical conditions, excessive feed demand, a poor electrical connection or a difficult geometry. Record where and when the break occurs before adjusting the process. For setup controls, see the Wire EDM setup checklist.
Die-Sinking EDM Maintenance Checklist
Die-sinking EDM uses a shaped tool electrode to reproduce a cavity in an electrically conductive workpiece. Stable results depend on the actual electrode, dielectric system, flushing strategy, servo gap, electrical condition and depth/geometry verification.
- Dielectric system: use only the approved medium and inspect level, visible contamination, filter condition, circulation, temperature indication and leaks according to the model manual.
- Flushing and suction: confirm the intended path removes debris from the cavity without moving the workpiece or creating an uneven condition.
- Electrode identity: record material, electrode number, roughing/finishing purpose, initial dimensions, undersize and orientation.
- Electrode and holder: inspect contamination, chips, damage, runout or misalignment at the holder interface and the electrode's actual wear before reuse.
- Process condition: verify polarity, condition/technology number, depth reference, compensation and the motion strategy used by the actual model and job, including jump or orbit where fitted.
- Safety: never bypass any fluid-level, door, temperature or fire-safety interlock fitted to the machine. Service of the generator, electrical cabinet or fire system belongs to authorised personnel.
Do not promise zero electrode wear or assume that one electrode can complete every roughing and finishing operation. Electrode wear and cavity result depend on electrode material and size, workpiece material, energy, polarity, flushing, motion strategy and the required surface.
EDM Drilling Maintenance Checklist
EDM drilling commonly uses a rotating tubular electrode with process fluid delivered through or around the electrode. Small-hole stability is sensitive to the electrode, guide, rotation and fluid path, so a generic Wire EDM or sinker-EDM checklist is not sufficient.
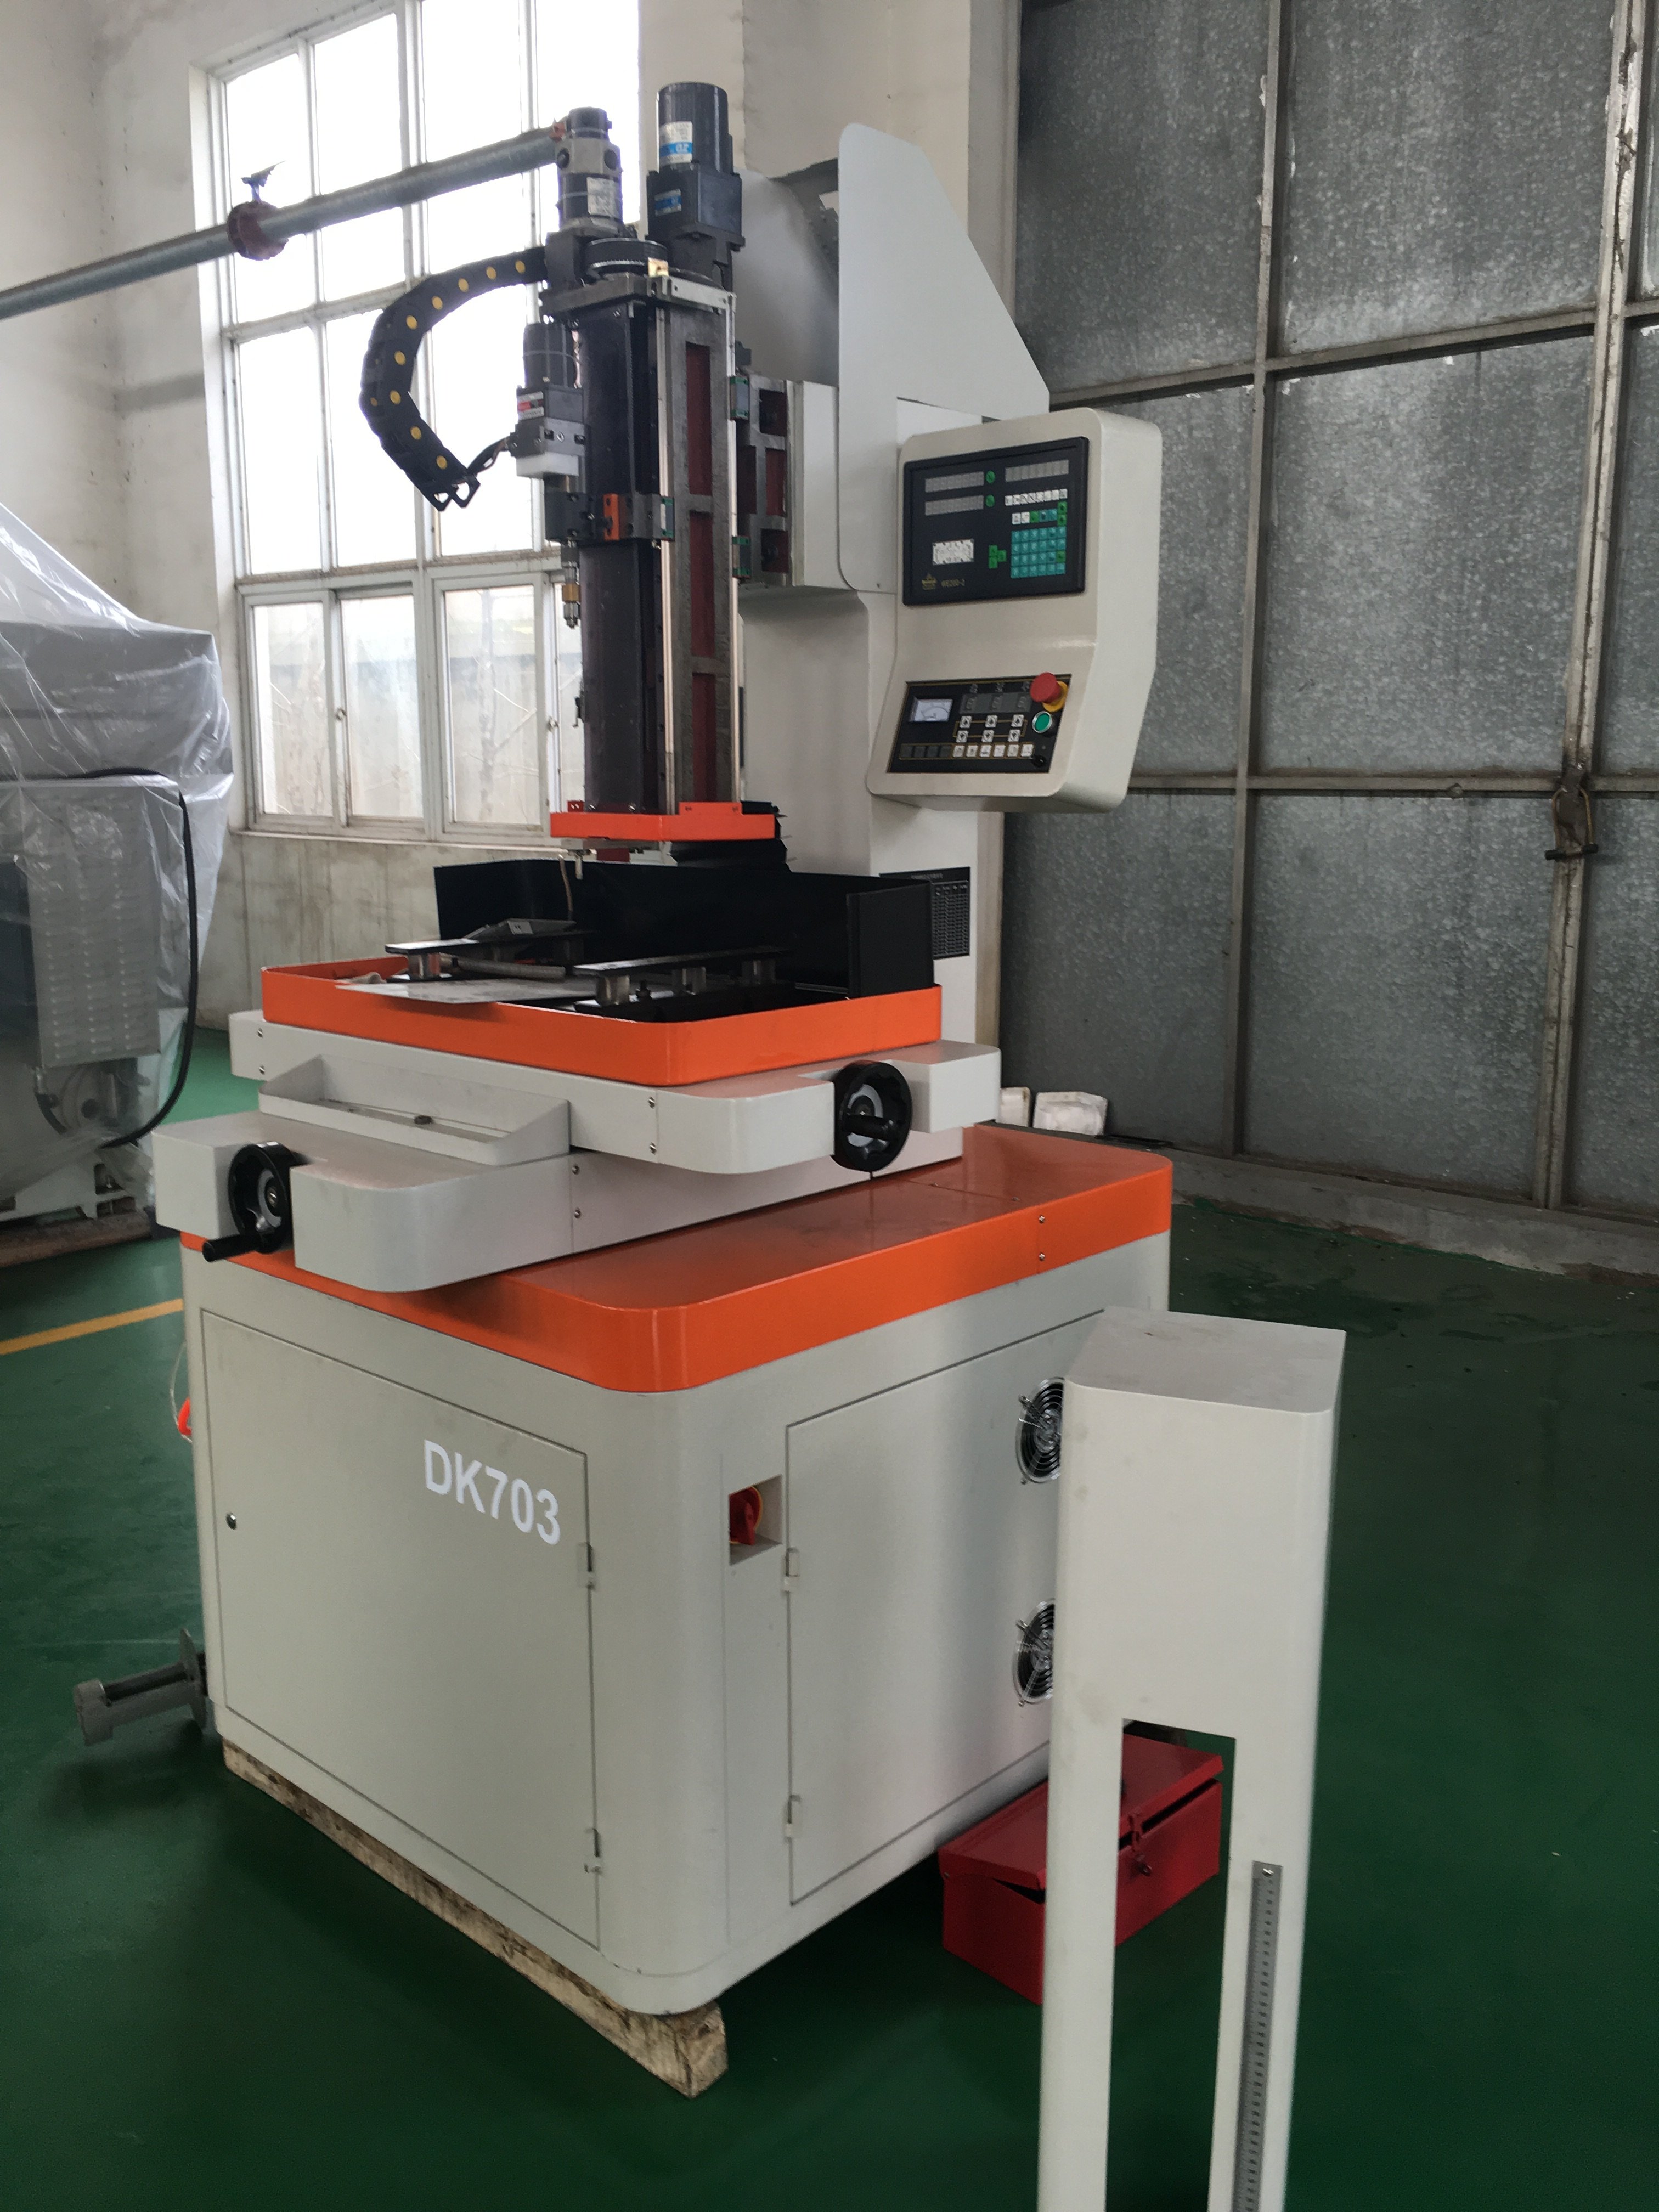
- Electrode tube: confirm the approved diameter, material and length; inspect straightness, end condition, blockage, damage and remaining usable length.
- Guide and alignment: inspect the correct guide size, wear, cleanliness, secure mounting and electrode passage without forcing the tube.
- Rotation and feed: observe smooth rotation and feed without unusual sound, vibration or runout. Stop and diagnose a repeated tube bend or break rather than increasing pressure or power blindly.
- Fluid delivery: check approved fluid, level, filtration, seals, hoses, leakage and stable delivery to the electrode. Use only the pressure and condition allowed by the model and electrode.
- Workpiece contact and setup: verify material conductivity, clean clamping, datum, electrical connection, guide clearance and breakthrough arrangement.
- Hole verification: inspect entry and exit size where accessible, location, straightness or taper, depth/breakthrough and surface condition according to the drawing.
How Often Should EDM Maintenance Be Performed?
There is no reliable universal interval for every EDM machine. Use the selected model's manual as the baseline. Add or shorten condition-based checks when operating conditions or inspection trends justify them; do not extend a manufacturer-specified safety or service interval without written authorisation. A filter or fluid interval from a different machine design is not evidence for the HarsMarg model in front of you.
| Trigger | Appropriate Action | Required Evidence |
|---|---|---|
| Before starting a validated job or at shift handover | Complete the operator checks specified by the model manual and job sheet | Checklist, fluid/consumable observation, program revision and setup sign-off |
| During production | Trend alarms, interruptions, actual cycle time, consumable use and part inspection | Machine log or manual record compared with the last accepted run |
| At a manual-specified operating interval | Perform the listed cleaning, inspection, lubrication or replacement task | Date, operating hours, finding, work performed and part used |
| When an applicable machine indicator or manual inspection limit is reached | Service the related fluid, filter, wire path, electrode system or component according to the manual | Before/after value or inspection and the service result |
| After relocation, collision, major repair or persistent directional drift | Request qualified levelling, geometry, alignment or calibration service as applicable | Service record plus a representative verification part |
EDM Troubleshooting: Symptom-to-Check Guide
| Observed Symptom | Check First | Then Verify |
|---|---|---|
| Longer cycle time or unstable machining | Material/job revision, debris removal, fluid circulation, filter condition, wire/electrode condition and flushing path | Run the same reference feature and compare actual time and alarms with the accepted baseline |
| Surface becomes rougher or uneven | Correct finishing stage, fluid/debris condition, consumable wear, electrical program and stable flushing | Measure roughness in the same direction and location using the same cutoff/settings |
| Dimension, taper or depth drifts | Datum, fixture, offset/compensation, guide or holder condition, thermal change and inspection method | Inspect a reference part; seek qualified geometry/calibration service if directional drift persists |
| Repeated wire breakage in Wire EDM | Wire and winding, guide/contact path, debris, fluid delivery, workpiece contact, electrical condition and break location | Observe stable reciprocation and repeat the problem feature under the last accepted condition |
| Sinker EDM arcing or local burn damage | Debris evacuation, dielectric condition, electrode/workpiece contact, gap strategy and correct electrical program | Perform a controlled reference test under the model's normal safeguards, then inspect surface, depth and electrode wear before returning to the part |
| EDM drilling tube bends, breaks or produces tapered holes | Tube straightness/size, guide, rotation, alignment, fluid path, pressure, feed and breakthrough condition | Drill a representative sample and inspect entry, exit, location and straightness/taper as required |
These are diagnostic starting points, not proof of one root cause. If the issue involves an electrical cabinet, generator, safety circuit, machine geometry, axis feedback or an unresolved alarm, stop and use qualified service support.
How to Verify the Machine After Maintenance
Cleaning, replacement or adjustment is only complete when the relevant output is verified. Use a controlled reference piece or first article and document:
- machine model, date, operating hours and the maintenance action;
- workpiece material, hardness/condition, dimensions and geometry;
- wire or electrode specification and condition;
- working fluid, filtration/flushing condition and relevant displayed values;
- program revision, offset, electrical condition and cut/burn sequence;
- fixture, datum and environmental/measurement temperature where relevant;
- actual cycle time, alarms or interruptions;
- dimensions, profile/taper or cavity/hole depth, surface roughness and any required surface-integrity check;
- instrument, measurement locations, acceptance rule and approval.
Use the same reference and measurement method over time so the record shows a real trend. For Wire EDM dimensional controls, see the accuracy and inspection guide. If speed is the concern, compare the complete qualified cycle rather than a catalogue peak in the Wire EDM cutting-speed guide.
What Should an EDM Maintenance Record Include?
At minimum, record the machine and serial number, date, operating hours, operator or technician, symptom, alarms, inspection finding, work performed, consumables or parts replaced, parameter/software revision, and the post-maintenance verification result. Attach photographs or measurement records when they make the change easier to review.
A useful log connects maintenance to production. Track repeated wire breaks, unstable discharges, drilling-tube failures, cycle-time change, filter or fluid observations, consumable life and nonconforming features. This helps distinguish a one-time setup problem from a gradual component or process trend, even when the machine does not provide automatic monitoring.
Frequently Asked Questions
How often should EDM dielectric or working fluid be changed?
Follow the selected machine's manual and the actual fluid condition; there is no universal replacement interval. Fluid type, system volume, filtration design, operating hours, material, contamination and the process requirement all change the interval. Do not apply a universal fixed-hour rule or another brand's schedule to every EDM machine.
What are the most common causes of inconsistent EDM results?
Common starting points include a changed job or program revision, unstable working-fluid condition or debris removal, worn or damaged wire/electrode/guide components, poor electrical contact, fixture or datum movement, unsuitable settings, thermal change and an inconsistent measurement method. The actual cause must be verified on the machine and job rather than inferred from one symptom.
Can an operator calibrate an EDM machine?
An operator can perform the routine checks and reference-piece verification allowed by the supplied manual and site procedure. Formal levelling, geometry correction, laser calibration, axis feedback work, electrical service and safety-system service should be performed by authorised or qualified personnel using the model-specific procedure.
Does preventive maintenance guarantee EDM accuracy?
No. Maintenance reduces avoidable variation and helps preserve machine condition, but final workpiece accuracy also depends on the material, geometry, program, consumable, fluid, setup, environment and inspection. Verify the result with a representative reference piece or first article.
What information should I send for EDM troubleshooting support?
Send the machine model and serial number, controller, alarm code or photograph, job drawing, material and thickness/depth, wire or electrode specification, working fluid, program and condition number, when the problem began, recent maintenance or changes, and before/after inspection results. Do not send passwords or protected control data.
Request a Technical Review
For machine selection or process review, send the drawing, material, workpiece size and weight, required tolerance and roughness, current machine/process, observed symptom, available inspection data, destination and power supply. HarsMarg can identify the relevant machine family and the information that must be confirmed in the model manual or technical quotation. Send your application and maintenance details.
Table of Contents
- What Does Consistent EDM Performance Mean?
- Before Adjusting the Process: Establish a Safe Baseline
- Common Checks for All EDM Processes
- Wire EDM Maintenance Checklist
- Die-Sinking EDM Maintenance Checklist
- EDM Drilling Maintenance Checklist
- How Often Should EDM Maintenance Be Performed?
- EDM Troubleshooting: Symptom-to-Check Guide
- How to Verify the Machine After Maintenance
- What Should an EDM Maintenance Record Include?
- Frequently Asked Questions
- Request a Technical Review